
How to Fix a Blurry iPhone Front Camera in 2024: A Comprehensive Guide
Introduction
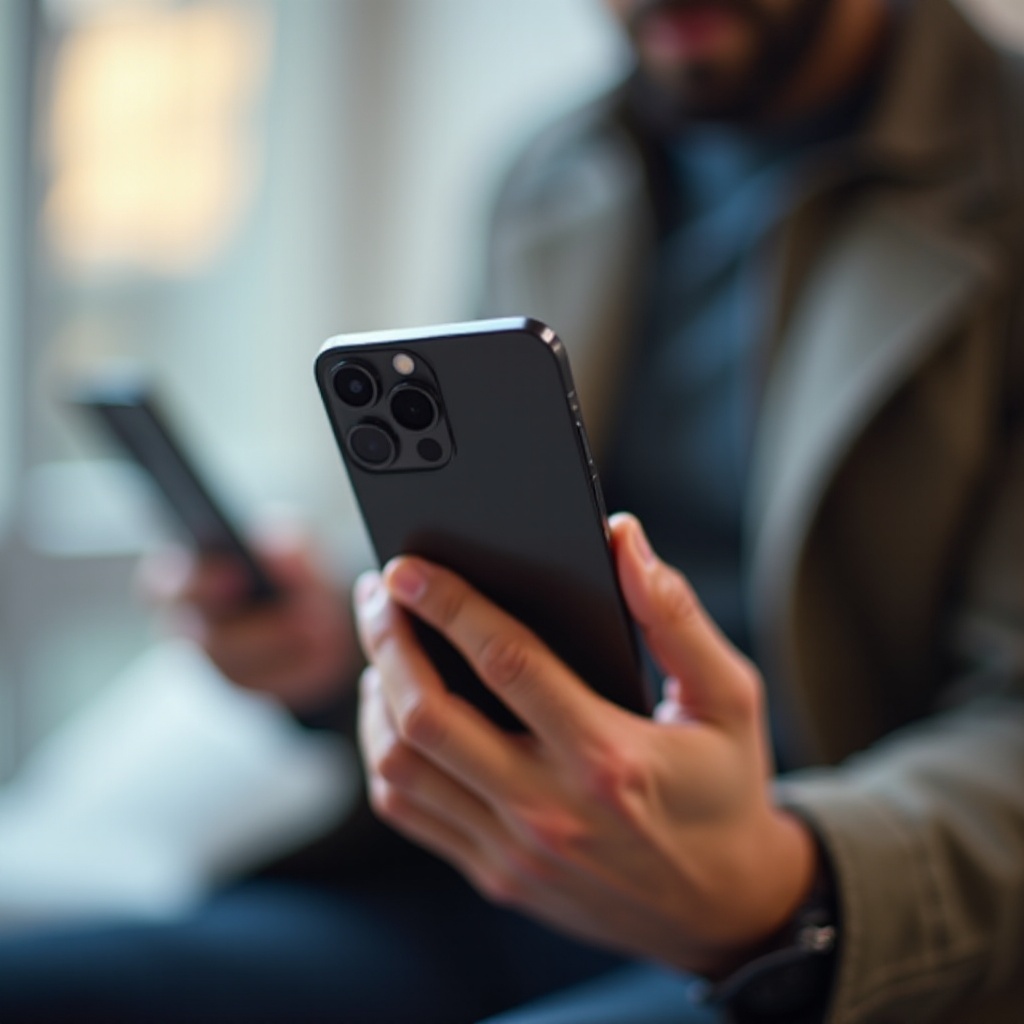
The iPhone’s front camera is a key feature for taking selfies and making video calls. However, a blurry front camera can be frustrating, affecting the quality of your interactions and memories. Fortunately, understanding the causes and solutions for this issue can help restore your camera’s clarity. Let’s explore the steps you can take to resolve this problem and enjoy sharper images.
Common Causes of a Blurry iPhone Front Camera
Before diving into solutions, it’s crucial to identify why your camera might be blurry. Understanding these causes helps in effectively addressing them.
- Dirty Lens: One of the most typical reasons is a smudged lens. Dust, fingerprints, and grime can easily build up over time, disrupting your camera’s performance.
- Software Glitches: Outdated software or specific app bugs may lead to blurry images, as they can interfere with the camera’s functionality.
- Low-light Environments: Although modern iPhones are optimized for low-light conditions, poor lighting can still impact image clarity.
- Hardware Issues: On rarer occasions, physical damage to the lens or internal components can cause blurriness.
By knowing these causes, you can tackle them systematically, starting with the easiest fixes.
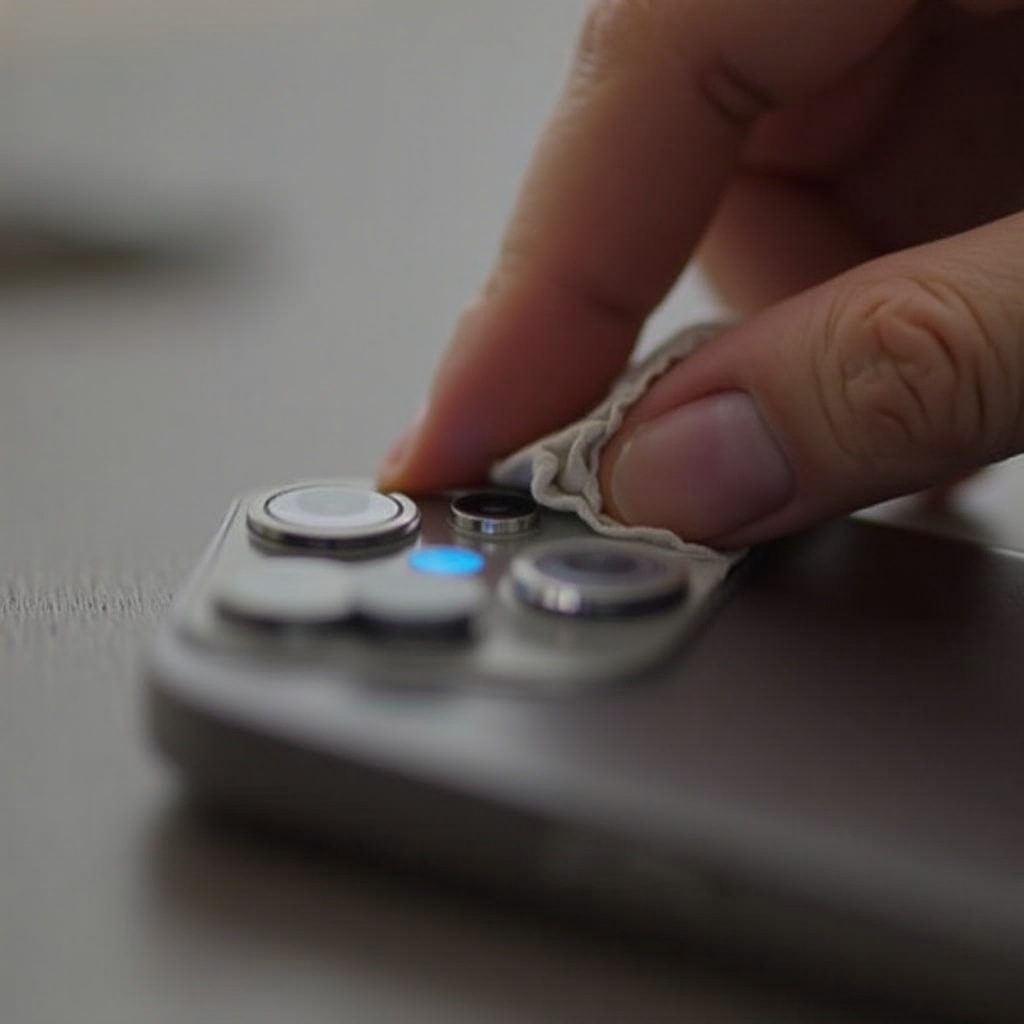
Effective Cleaning Techniques for iPhone Front Camera
Cleaning the camera lens is the simplest and often most effective way to improve clarity. Follow these steps to ensure your lens is spotless:
- Gather Cleaning Materials: Use a microfiber cloth and lens cleaning solution. Avoid tissues or harsh substances that may scratch the lens.
- Clean Gently: Slightly dampen the cloth with the cleaning solution and gently wipe the lens using circular motions.
- Inspect: After cleaning, test the camera’s clarity. If necessary, repeat the process.
Once the lens is clean, you can proceed to optimize camera settings, which can also significantly impact photo quality.
Optimizing Your iPhone Camera Settings
Camera settings play an essential role in determining image quality. Adjusting these settings might resolve blurriness:
- Adjust Settings: Access your camera app to review current settings. Features like HDR and Flash can enhance or degrade image quality depending on usage.
- Utilize HDR and Night Mode: These features help manage different lighting scenarios, ensuring clearer photos.
- Experiment with Filters: Filters can enhance photos, but overuse may impact clarity. Use them judiciously to maintain the natural quality of your images.
If optimizing settings does not fully resolve the issue, it’s time to turn attention to potential software problems.
Troubleshooting Software Issues
Software glitches can often cause camera malfunctions. Address these problems with the following steps:
- Update iOS: Ensure your device is up-to-date by navigating to Settings, selecting General, and choosing Software Update.
- Reset Camera Settings: Return your camera settings to their defaults by going to Settings, selecting General, then Reset, and finally Reset All Settings.
- Restart Your Device: A simple reboot can refresh all applications and eliminate minor glitches.
If software solutions do not solve the issue, you may need to examine hardware problems more closely.
Addressing Potential Hardware Problems
When cleaning and software adjustments fail, hardware damage might be the underlying cause.
- Signs of Hardware Failure: Continued blurriness after troubleshooting software and cleaning indicate possible physical damage such as a scratched lens or internal issues.
- Repair Options: Look into professional repair options like AppleCare. Depending on the damage’s extent, repairing the camera component or the entire phone may be necessary.
Before seeking repair, attempt enhancing photography conditions to ensure external factors aren’t exacerbating the issue.

Tips for Capturing Clear Photos in Various Conditions
Great photography sometimes requires more than just camera settings. Here are additional strategies to ensure quality images:
- Manage Light Conditions: Take advantage of natural light for the best results. Direct sunlight can be harsh and create shadows, so aim for softer lighting scenarios.
- Use External Accessories: Consider investing in accessories such as selfie rings or external lenses that can boost image quality.
- Steady Your Hands: A shaky hand can cause blurriness. Use stands or timers to capture more stable and crisp images.
Implementing these practices along with regular cleaning and updates ensures your iPhone’s front camera is always ready for the perfect shot.
Conclusion
Maintaining your iPhone’s front camera involves regular upkeep and a good grasp of camera settings. By addressing each potential cause of blurriness – from cleaning the lens, updating your software, or even repairing hardware – you ensure a consistently clear view of your world. With these solutions, you can continue capturing and sharing life’s moments with confidence.
Frequently Asked Questions
Why does my iPhone front camera keep getting blurry?
Common reasons include a dirty lens, outdated software, or inadequate lighting. Regular cleaning and software updates can help maintain clarity.
What should I do if cleaning and software updates don’t work?
If issues persist after cleaning and updates, consider checking for hardware damage. Seek professional repair if needed.
Is it worth repairing the camera if it’s damaged?
Repair can be a cost-effective solution if it’s covered under warranty. For older models, consider whether an upgrade might be more beneficial.