
How to Transfer Cellular Data to Your New iPad
Introduction
Transferring cellular data to a new iPad is a straightforward process that ensures your important information travels with you to your new device. Whether upgrading to the latest model or switching devices, the following easy steps will guide you through transferring your cellular data seamlessly.

Preparing Your Devices for Transfer
Before initiating the transfer, it’s crucial to prepare both your old and new iPads. Begin by creating a backup of your current iPad to safeguard your data. Use iCloud to back up your data by navigating to Settings, tapping on your name, then selecting iCloud, followed by iCloud Backup and Back Up Now.
Ensure both your old and new iPads are running the latest iOS version by going to Settings, selecting General, and tapping Software Update. This preparation helps prevent any compatibility issues during the data transfer process.
Using iCloud for Data Transfer
With iCloud, transferring your data becomes a simple task. First, confirm your old iPad is backed up via iCloud. Once secured, proceed with the setup of your new iPad: turn it on near your old device, and when prompted, select Restore from iCloud Backup. Sign in with your Apple ID, choose the most recent backup, and allow the process to complete while connected to Wi-Fi. This ensures a smooth transition without needing a physical connection between devices.
Direct Transfer Using Quick Start
Apple’s Quick Start feature simplifies the process of data transfer directly between devices, eliminating the need for cloud services:
1. Place your old and new iPads side by side and power them on.
2. Your new iPad will display a prompt to use your Apple ID for setup.
3. When ‘Set Up New iPad’ appears on your old device, choose your settings, and follow the pairing instructions.
4. On your new iPad, select Transfer from iPad to wirelessly migrate your information.
This method requires both iPads to have iOS 12.4 or later. Quick Start offers a reliable way to directly transition data, reducing the likelihood of interruptions.
Transferring Data with iTunes or Finder
For users who prefer a wired approach or lack a stable internet connection, iTunes or Finder offers a dependable method:
1. Connect your old iPad to your computer using a USB cable.
2. Open iTunes or Finder, select your device, and click Back Up Now to make a local backup.
3. After completion, connect your new iPad to the computer.
4. Access iTunes or Finder, select Restore Backup, and pick your latest backup to transfer.
Using iTunes or Finder provides a way to manage data transfer locally, which can be particularly advantageous for large backup sizes or slower internet speeds.
Alternative Methods and Tools for Data Transfer
Beyond Apple’s in-built methods, various third-party applications can support data transfer between devices. Applications like AnyTrans and dr.fone offer user-friendly interfaces for data migration. These apps provide additional features such as data management, though often at a cost. Always verify the credibility and reviews of any third-party service to protect your information.
Handling SIM Cards and eSIM Setup
If your new iPad supports cellular data, you need to manage your SIM card or eSIM configuration efficiently:
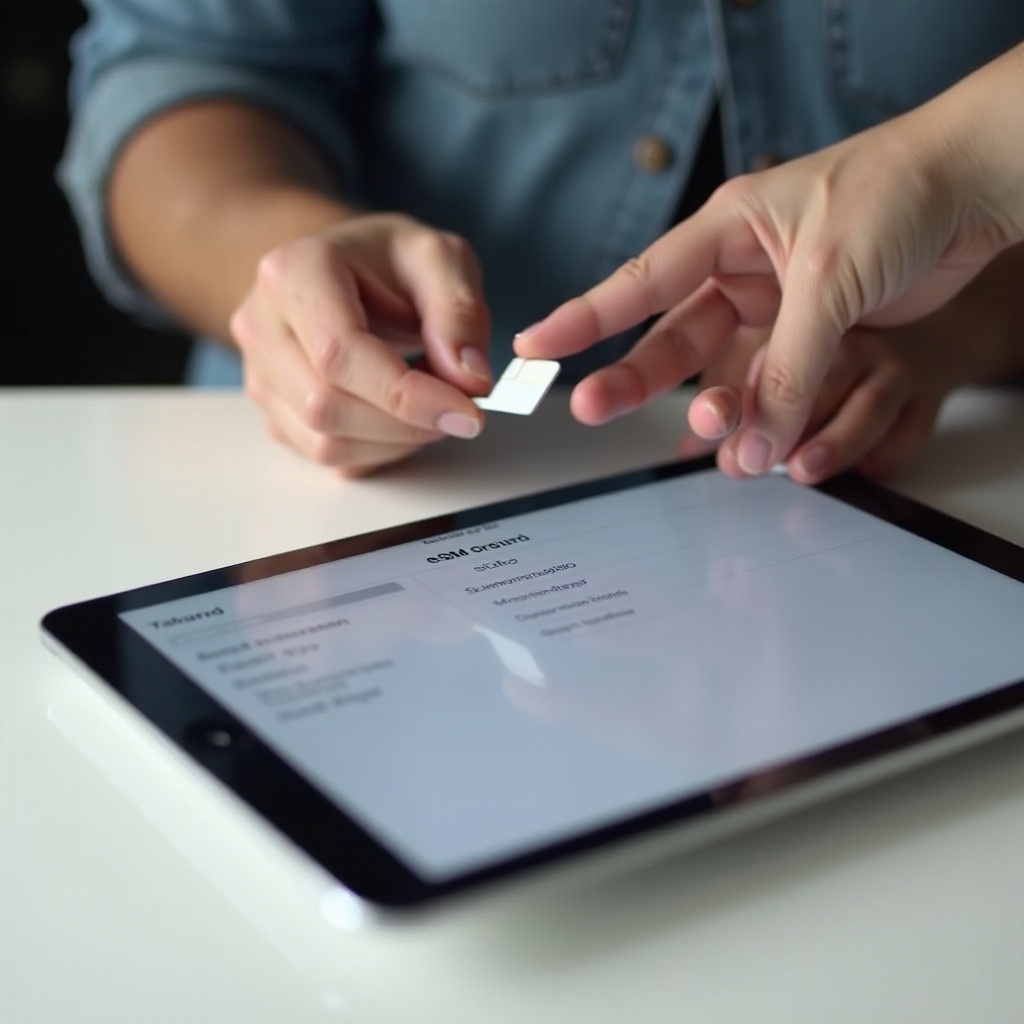
– For a physical SIM card, remove it from your old device using the eject tool and place it in the SIM tray of your new iPad.
– To set up an eSIM, go to Settings, select Cellular Data, then Add Data Plan on your new iPad. Follow your carrier’s instructions to complete the setup.
Ensuring proper SIM card or eSIM setup maintains uninterrupted cellular service as you switch to your new device.
Troubleshooting Common Issues
Encountering transfer issues can be frustrating, but there are ways to overcome them. If connectivity problems arise, confirm that both devices have Bluetooth and Wi-Fi enabled. Keep the devices close to each other during the transfer. Restart both iPads if the transfer stalls, or refer to Apple’s support documentation for specific solutions. These steps ensure a smooth transition despite minor interruptions.

Conclusion
In conclusion, transferring cellular data to a new iPad involves several straightforward steps, whether utilizing iCloud, Quick Start, or iTunes. Each method has its benefits, so choose the one that best fits your needs. Ensure all preparation and troubleshooting steps are followed to maintain data integrity and enjoy your new iPad without missing a beat.
Frequently Asked Questions
Can I Transfer Data Without a Backup?
Direct transfers like Quick Start don’t need pre-backup, but are limited to new devices.
What if My Devices Are on Different iOS Versions?
Ensure both iPads are updated to the latest iOS to facilitate a smooth data transfer.
How Do I Transfer Apps and Their Data?
Using methods like iCloud or iTunes typically transfers apps and associated data seamlessly to your new iPad.