
How to Replace the Back of Your iPhone: A Comprehensive Guide
Introduction
Replacing your iPhone’s back panel can be an intimidating task. However, equipping yourself with the right tools and understanding the steps can make this DIY project both cost-effective and rewarding. Restoring your iPhone not only improves its appearance but also guards its internal components. This guide provides step-by-step instructions to replace the back of your iPhone, helping you maintain its sleek look and functionality.
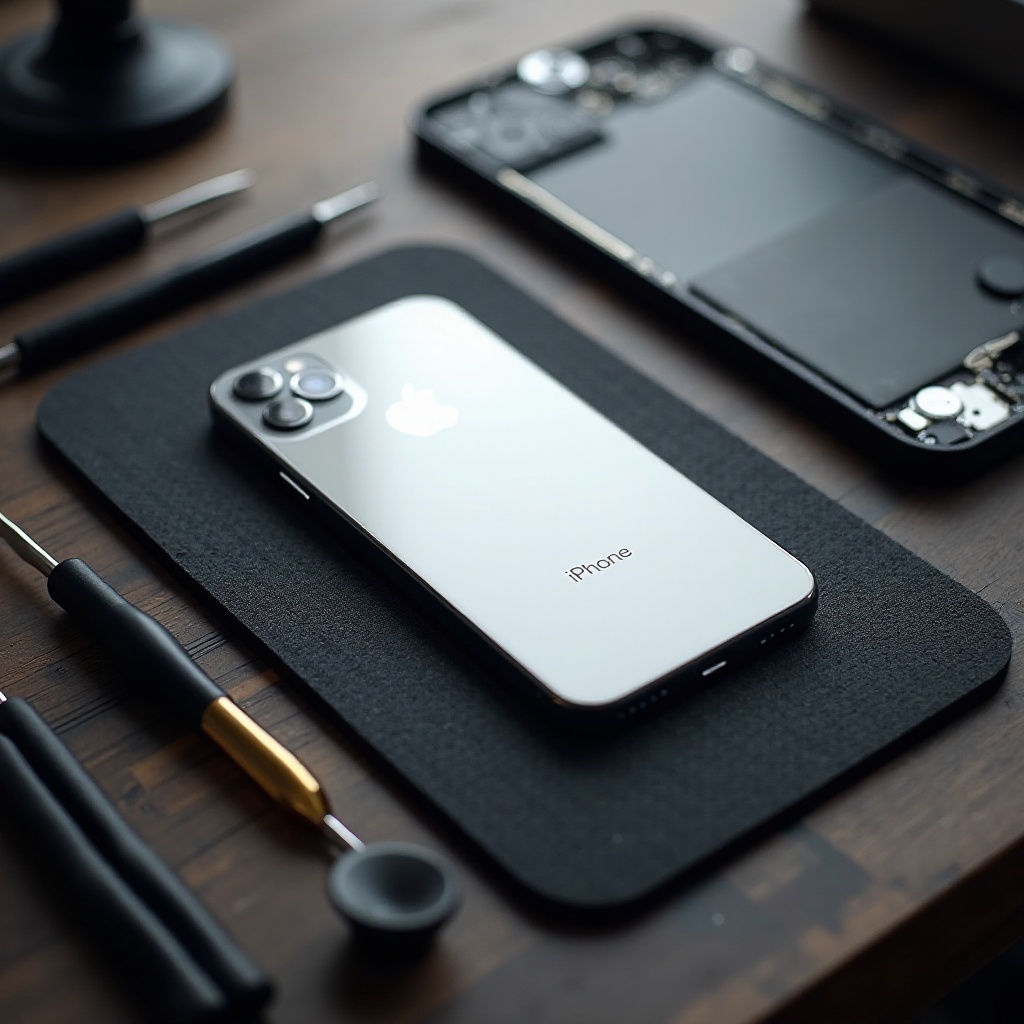
Tools and Materials You Need
Having the proper tools at your disposal is crucial for a successful repair. Before diving into the replacement process, gather the following items:
- Pentalobe Screwdriver: Needed to remove screws at the bottom.
- Suction Cup: Useful for lifting the display gently.
- Plastic Opening Tool: Helps in prying open the back panel carefully.
- Plastic Pick: Assists in lifting and separating components without scratching.
- Adhesive Strips: Ensures the new panel stays fixed.
- Replacement Back Panel: The new panel to replace the damaged one.
Organize these tools in a tidy workspace, which will facilitate a smooth transition into the replacement procedure.
Preparing Your iPhone for Repair
Preparation significantly impacts the ease of the repair process. Begin by turning off your iPhone completely. Press and hold the power button, then slide to power off. Remove any protective casing and the SIM card to clear any obstructions.
To safeguard against data loss, back up your iPhone using iCloud or through a computer. This backup is essential in case of unforeseen issues during your repair. With your tools and backup complete, you’re ready to remove the old panel safely.
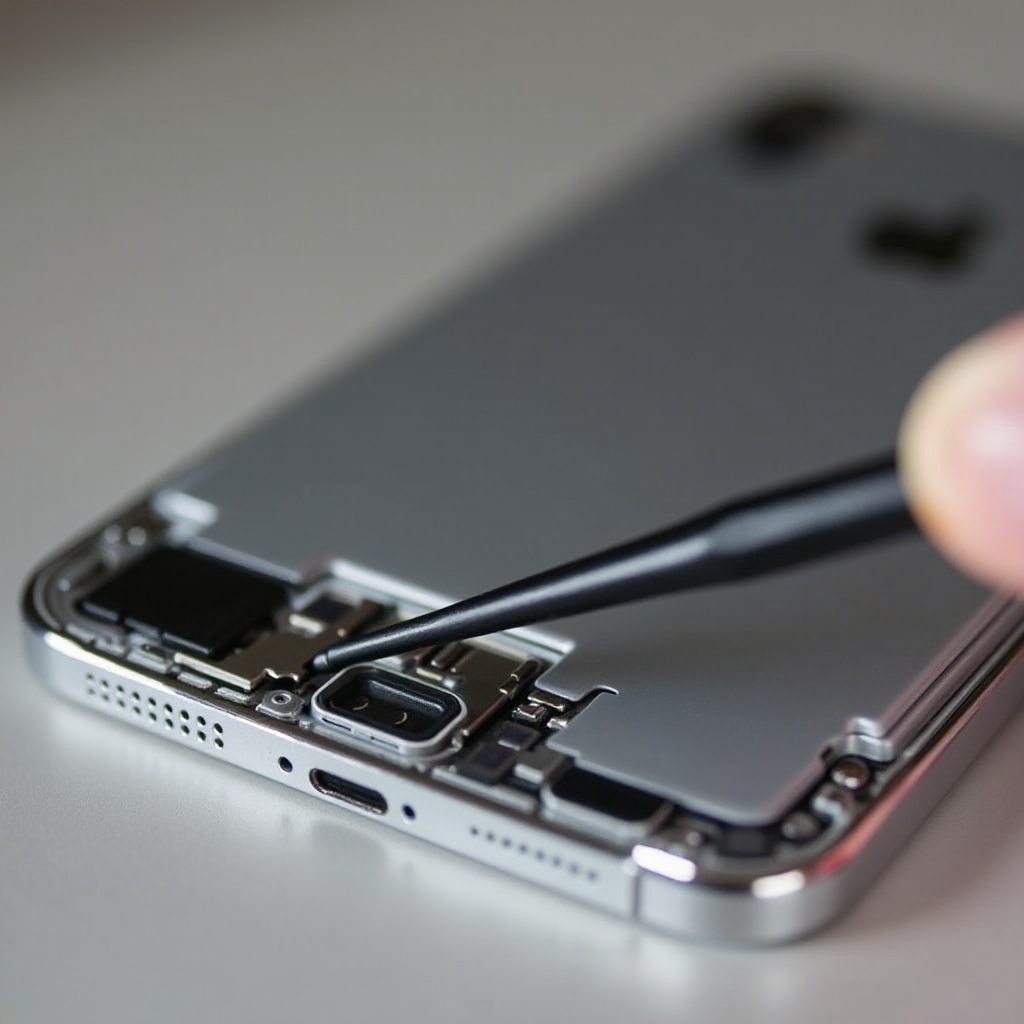
Removing the Damaged Back Panel
Follow these precise steps to safely remove your iPhone’s damaged back panel, ensuring no internal components are harmed:
- Remove Screws: Use the pentalobe screwdriver to loosen the screws near the phone’s charging port.
- Lift the Display: Place the suction cup just above the home button, pulling gently.
- Pry Open the Panel: Slide the plastic pick along the perimeter to gradually loosen the back panel.
- Disconnect Connectors (if necessary): Some models require disconnecting connectors as an additional step.
Careful execution of these steps will prepare your iPhone for the installation of the new back panel, also helping to avoid damaging delicate internal parts.
Installing the New Back Panel
With the old panel removed, you’re ready to install the new one. This final step requires focus and ensures your iPhone’s functionality:
- Align the New Panel: Place it over your phone, confirming all edges align with the frame.
- Apply Adhesive Strips: Secure the panel with adhesive strips evenly.
- Press and Secure: Gently press down on the panel, ensuring it adheres firmly.
- Reattach Screws: Refasten screws to secure the new panel.
Successful installation of the panel is crucial before testing your device’s functionality. Make sure all parts are correctly reassembled before moving on.
Post-Repair Checks and Maintenance
After installing the new panel, conduct checks to ensure everything works optimally:
- Power on and test: Verify the device’s operations, including the touchscreen and camera.
- Check Alignments: Make sure there are no gaps between the panel and the casing.
- Regular Maintenance: Consider using a sturdy case for protection and avoiding exposure to liquids and sharp objects.
Regular checks and maintenance, such as cleaning your device and using protective accessories, significantly extend your iPhone’s lifespan.

Conclusion
Replacing the back of your iPhone is a manageable task with the right guidance. The steps outlined in this guide empower even those new to DIY repairs to complete the task effectively. Not only does self-repair save money, but it also instills a sense of personal achievement. If ever in doubt about your ability, don’t hesitate to reach out to professionals for help. With care and precision, your iPhone can look as new as the day you bought it.
Frequently Asked Questions
Can I replace the back of my iPhone myself without professional help?
Yes, with the right tools and guidance, you can replace the back panel yourself. Ensure all components are handled delicately.
How much does it cost to replace the back panel of an iPhone?
The cost varies based on the model and parts source but doing it yourself can be more affordable than visiting a repair shop.
What should I do if my iPhone still doesn’t function properly after the repair?
Double-check all the connections and ensure everything is properly secured. If issues persist, consult a professional.