
How to Handle Scratched iPhone Camera Glass: Tips, Repairs, and Prevention
Introduction
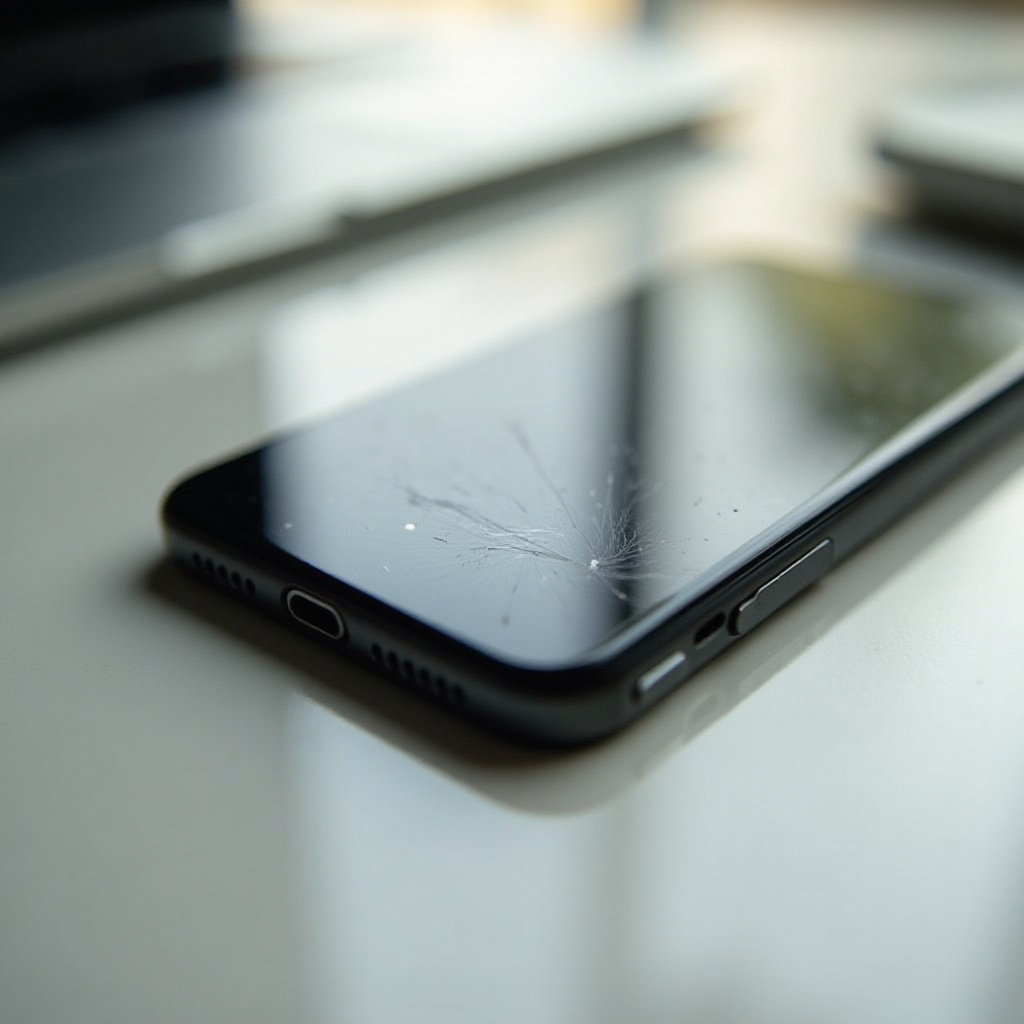
Scratches on your iPhone camera lens can turn perfect moments into blurry memories. Many iPhone users face the hassle of scratches, which not only ruin images but also affect the device’s look. In this guide, we delve into what causes these scratches, their impact on your device, and how you can fix or prevent these pesky blemishes. Whether you’re considering DIY solutions or professional help, we’ll walk you through the best options to restore your camera’s pristine condition and protect it going forward.
Causes of Scratched iPhone Camera Glass
Before diving into solutions, it’s crucial to understand the root causes of scratches on your iPhone camera glass. Everyday handling often leads to minor abrasions, primarily when you store your phone with items like keys or coins. Environmental factors play a significant role; particles like dust and sand can create tiny but numerous scratches over time. Additionally, improper storage can spell trouble; placing your phone on rough surfaces or storing it without protection increases the risk of scratches, diminishing the camera’s performance.
Impact on Photography and Device Functionality
Scratched camera glass doesn’t just mar the aesthetics; it directly impacts photo quality and device performance.
Effects on Photo Quality
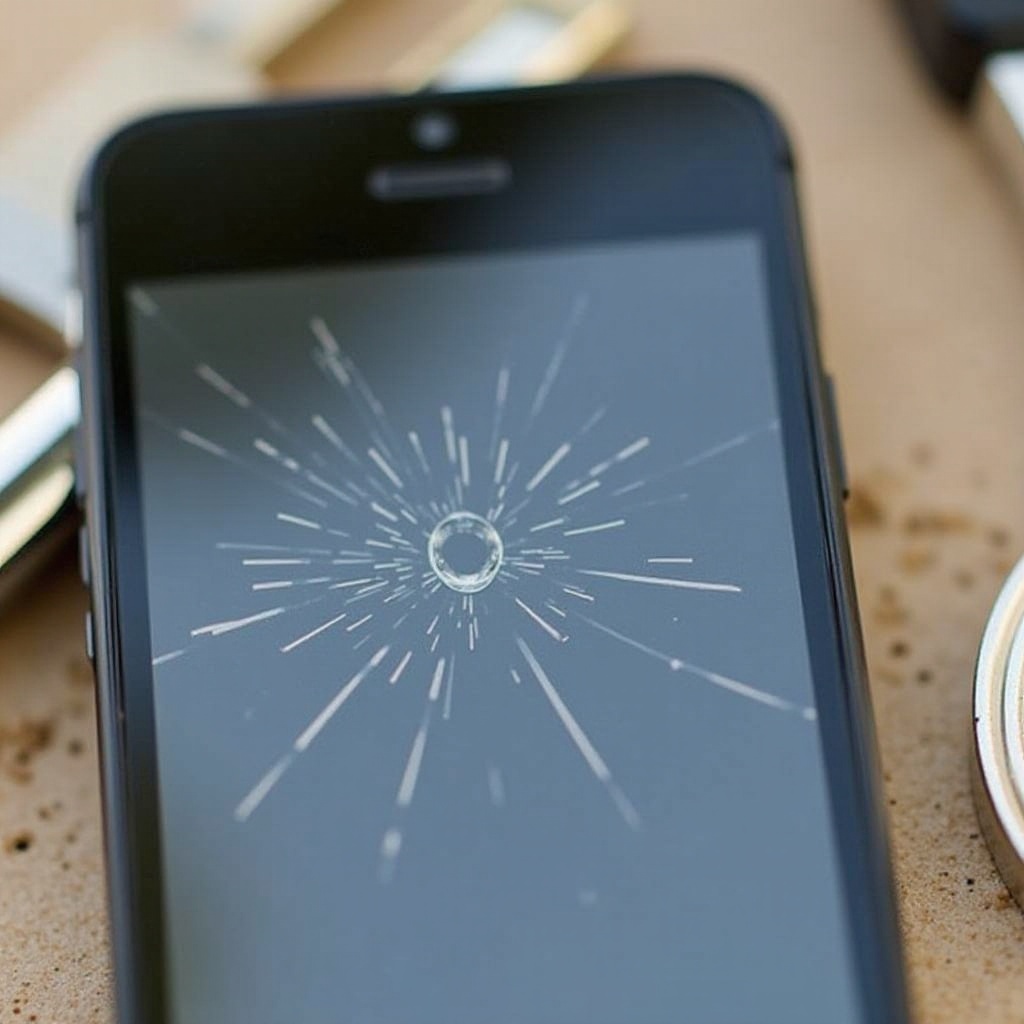
When your camera glass is scratched, you may face blurred or distorted images, as scratches disrupt the passage of light into the camera. These imperfections can also result in unwanted light flares in your photos, affecting their overall quality and feel.
Consequences for Phone Functionality
Scratches can cause autofocus issues, where the camera struggles to focus on subjects, leading to fuzzy shots. Besides, a badly scratched camera lens may affect your phone’s resale or trade-in value, as potential buyers often avoid devices with visible damages.
Once you recognize the impact of scratches, exploring DIY solutions becomes a tempting option for some users.
DIY Methods to Fix Scratched Camera Glass
DIY solutions offer a cost-effective way to address minor scratches, but they must be approached with caution.
Toothpaste and Baking Soda Techniques
These household items can sometimes mitigate minor scratches. For the toothpaste method, apply a small amount of non-gel toothpaste on a soft cloth and gently rub it on the scratched surface. Alternatively, create a paste with baking soda and water, and rub it on the glass in a circular motion. Wipe away any residue with a damp cloth.
Scratch Removal Kits: Do They Work?
Commercial scratch removal kits promise to restore scratched surfaces. They typically include compounds designed to smooth out the glass surface. While results can vary, they may be effective for light scratches. Follow manufacturer instructions closely to prevent further damage.
Risks and When to Avoid DIY
It’s crucial to consider potential risks: these methods can sometimes worsen the issue, especially for deeper scratches. Additionally, attempting DIY repairs may void your phone’s warranty or AppleCare coverage. For deep or numerous scratches, it might be wise to look toward professional repairs.
Professional Repair Options and Costs
Professional repair services are a reliable solution for major damages that DIY methods can’t fix.
Determining When Professional Help is Needed
If scratches impact your photo quality severely or affect the camera’s ability to focus, it’s time to seek professional assistance. Numerous scratches that interfere with overall functionality also warrant professional intervention.
Evaluating Repair Service Providers
Choose Apple-authorized service providers to ensure repairs use genuine parts and maintain quality. Although costs vary, expect to pay between $50 to $150 depending on the extent of damage and service provider. Though pricier than DIY, professional repair offers long-term reliability and peace of mind.
Having restored your camera glass, implementing preventive measures is the key to future protection.
Preventive Measures for Protecting Camera Glass
To avoid the inconvenience of scratches in the future, adopting preventive strategies is essential.
Using Protective Accessories
Invest in sturdy phone cases with elevated edges to prevent direct contact between the camera lens and surfaces. Also, consider using tempered glass lens protectors for an extra protective layer.
Daily Maintenance Practices
Maintain cleanliness by regularly wiping the camera lens with a microfiber cloth, avoiding abrasive materials. Ensure to store your phone away from sharp objects and avoid rough surfaces to reinforce protection.
By following these preventive measures, you not only extend the longevity of your iPhone’s camera but also ensure your photos remain sharp and vivid.
Conclusion
Scratches on your iPhone’s camera glass are a common yet solvable issue. By understanding the causes, impacts, and solutions, you can effectively restore and protect your device. Whether you choose DIY fixes or professional repairs, taking proactive steps to safeguard your phone will ensure it remains in optimal condition and ready to capture all of life’s moments with clarity and precision.
Frequently Asked Questions
How can I tell if a scratch is too severe for DIY repair?
Severe scratches often affect photo clarity, causing blurriness or distortion. If a scratch is visible in images or can be felt with your nail, consider professional repair.
What is the average cost of professional iPhone camera glass repair?
Professional repair costs vary but typically range from $50 to $150, depending on the severity of the scratch and the service provider.
Are camera lens protectors effective in preventing scratches?
Yes, lens protectors add a protective layer that prevents scratches and maintains photo quality, making them an effective solution.