
The Comprehensive Guide to Replacing Your HP Pavilion Laptop Screen
Replacing a laptop screen might seem daunting, but with clear steps and the right resources, it’s manageable. HP Pavilion laptops, renowned for their reliability, sometimes need screen replacements due to wear or accidents. This guide equips you with the critical knowledge to select and replace your HP Pavilion’s screen efficiently.
Introduction
Laptop screens endure daily stress, which can lead to malfunctions or breakage. Understanding screen replacement can prolong your device’s life and is often more economical than buying a new laptop. Screen replacement can be a viable option when faced with display issues, encouraging sustainability by keeping your device in top condition.
Understanding Your HP Pavilion Screen Specifications
Before purchasing and replacing your screen, it’s pivotal to understand your HP Pavilion’s exact specifications. A precise fit ensures compatibility and functionality.
Identifying Your Laptop Model
- Check the bottom panel or battery compartment for your model number.
- Use the HP Support website to confirm specifications with your model number.
- Document the size and model to ensure a correct screen replacement.
Important Screen Specifications: Size, Resolution, and Type
- Size: Measure your screen diagonally. It helps pinpoint the correct replacement.
- Resolution: This ranges from HD (1366 x 768) to Full HD (1920 x 1080) or higher, depending on the model.
- Panel Type: Choose between IPS for color accuracy and TN for refresh rates.
Understanding your screen specifics prepares you for the next step: selecting the right replacement.
Choosing the Right Replacement Screen
Choosing the correct screen is key to a flawless replacement. Here, we provide the essential tips for making an informed decision.
Original vs. Compatible Screens
- Original Screens: Direct from HP, preserving your laptop’s initial quality.
- Compatible Screens: Often more affordable, made by other manufacturers. Verify compatibility to avoid future issues.
Where to Purchase: Online and In-Store Options
- Online Retailers: Platforms like Amazon or eBay provide various screens, featuring reviews and comparisons.
- In-Store: Electronic stores might have limited stock but can offer professional guidance.
With your specific model information at hand, you can purchase your replacement screen confidently.

The DIY Screen Replacement Process
Time for action. Replacing your laptop screen yourself can save both time and money. Here’s how to proceed:
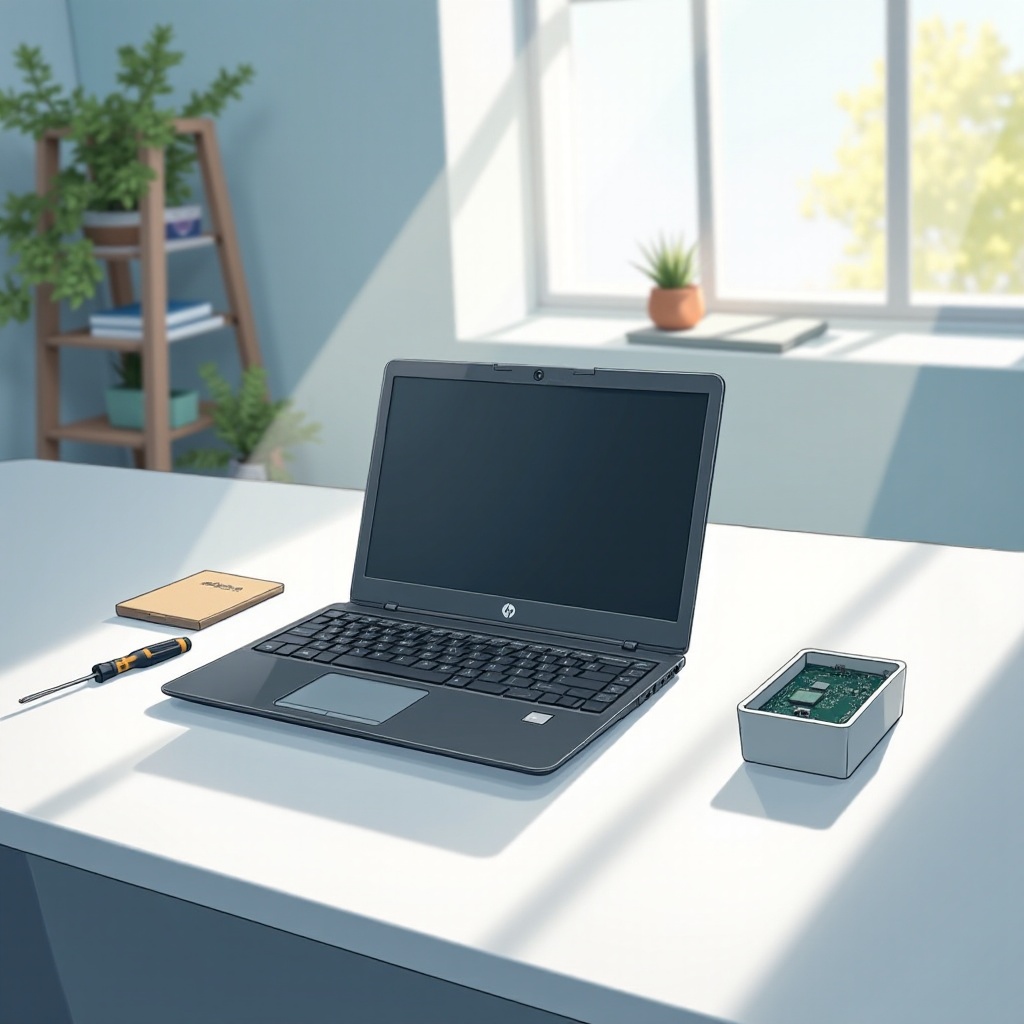
Necessary Tools and Equipment
Gather these tools:
– Phillips head screwdrivers
– A plastic pry tool or spudger
– An anti-static wrist strap
– A clean, flat workspace
Step-by-Step Guide to Removing the Old Screen
- Power off your laptop and detach the power cord.
- If possible, remove the battery to prevent hazards.
- Use a pry tool to gently remove the bezel surrounding the screen.
- Unscrew the perimeter screws holding the screen.
- Carefully disconnect the video cable at the screen’s back.
Installing the New Screen Safely
- Align the new screen correctly in the frame.
- Reconnect the video cable securely.
- Re-screw the new screen into position.
- Snap or screw back the bezel.
- Re-insert the battery and power on to test.
With the new screen installed correctly, you’re a step closer to having a fully functional laptop.
Troubleshooting and Testing Your New Screen
After installation, verifying the screen’s functionality is critical.
Verifying Screen Functionality
- Ensure the screen powers on without flickering or color issues.
- Test for dead pixels by changing background colors.
- Adjust display settings for optimal brightness.
Addressing Common Installation Problems
- Recheck all cable connections if issues persist.
- Make sure screws are firm and even.
- Consult your manual or online forums for additional help.
Content with the results? Explore professional options if problems persist.

Professional Screen Replacement Services
Not all are comfortable with DIY. Professional services deliver speed and reliability, especially without necessary skills.
When to Consider Professional Help
- If you lack confidence or tools for DIY.
- Persistent issues after a DIY attempt warrant professional assistance.
Evaluating Cost and Warranty Options
- Shop around for competitive repair prices.
- Confirm services include a warranty for both parts and labor.
Opting for professionals can ensure peace of mind and efficiency.
Maintaining Your New HP Pavilion Screen
Once installed, proper care extends your screen’s life.
Tips for Prolonging Screen Lifespan
- Clean regularly with soft cloths and gentle solutions.
- Avoid unnecessary pressure on the laptop’s lid or screen.
Do’s and Don’ts for Screen Care
- Do handle with care.
- Don’t close your laptop forcefully or rest objects on it.
Good maintenance keeps your screen in excellent condition for years to come.
Conclusion
Replacing your HP Pavilion screen can be straightforward with proper guidance. Whether opting for DIY or professional help, use quality tools and materials. With ongoing maintenance, your screen can serve you efficiently for years.
Frequently Asked Questions
What is the average cost of replacing an HP Pavilion laptop screen?
Costs range from $50 to $200 for a DIY replacement and upwards of $300 for professional service.
How long does it typically take to replace a laptop screen?
A DIY job can take about 1-2 hours, while professionals may take 1-3 business days.
Is it better to repair or replace an older HP Pavilion model?
Repairing is usually more cost-effective if the device functions well otherwise. Weigh repair costs against the price of a new laptop.