
How to Remove Base of Car Seat
Introduction
Removing the base of a car seat is often necessary for cleaning, maintenance, or when switching it to another vehicle. This process can seem tricky if you’re unfamiliar with it. Whether you’re a new parent trying to keep your car seat in top condition or are selling your vehicle and need to ensure every part is correctly removed, knowing how to handle this task efficiently and safely is crucial. In this guide, we’ll walk you through each step needed to remove the base of your car seat, ensuring you have all the necessary information and tools to complete the job with ease. Stick around as we uncover tips, detail the tools required, and provide troubleshooting advice.
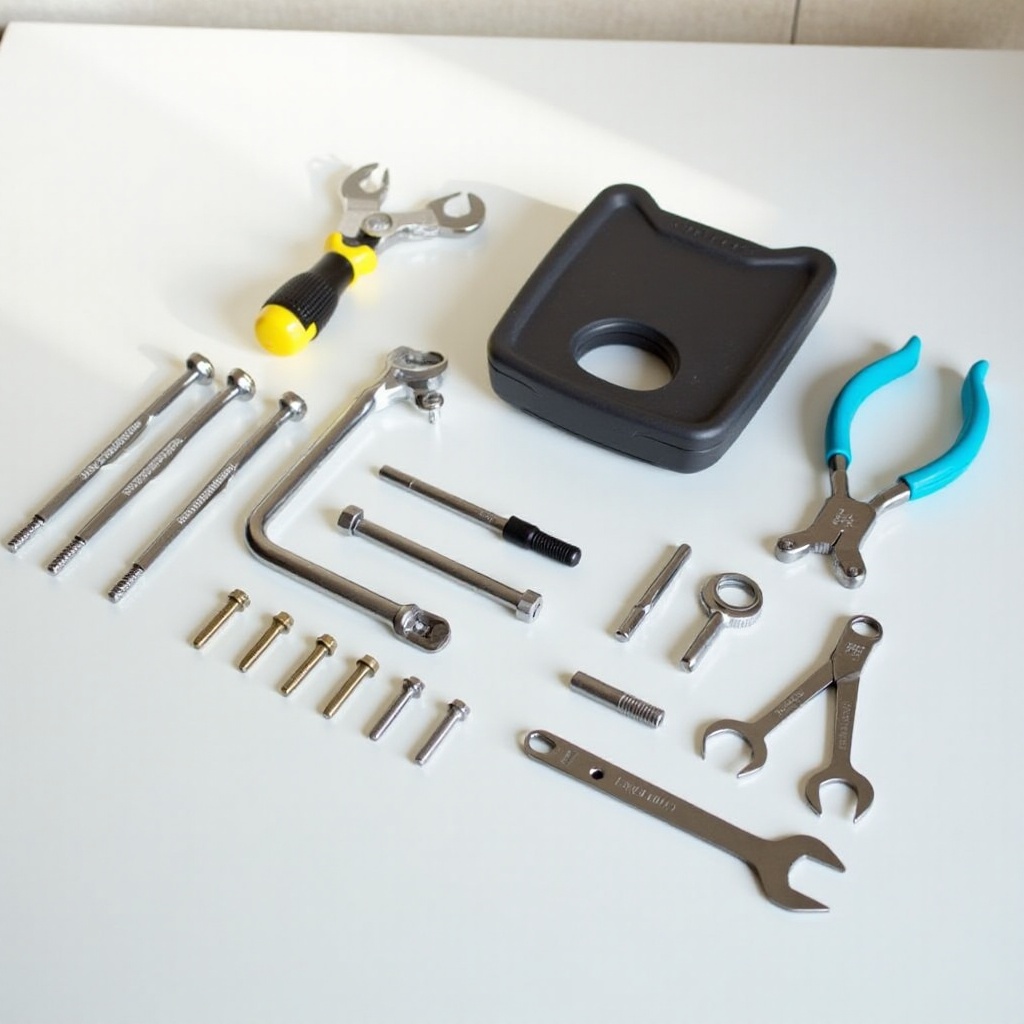
Tools You Will Need
Before you start, gather all the necessary tools to make the process smoother. Here’s what you’ll need:
- Owner’s Manual: Always refer to the car seat’s owner’s manual for specific instructions related to your model.
- Screwdrivers: A flat-head and a Phillips screwdriver are often required to loosen and remove screws.
- Pliers: Useful for gripping and twisting parts, especially if they are stuck.
- Cleaning Supplies: Have some wipes and a vacuum cleaner on hand, as removing the base can reveal hidden debris.
- Ziploc Bags: For storing small screws and parts so they don’t get lost.
Collecting all these tools beforehand minimizes interruptions and helps streamline the process.
Preparation Steps
Proper preparation is key to ensuring the safe removal of the car seat base. Follow these steps before starting:
- Read the Manual: Start by thoroughly reading your car seat’s manual. This will often include brand-specific instructions and safety warnings.
- Inspect the Seat and Base: Check for any visible damage. If the seat or base is compromised, consult the manufacturer for advice.
- Clear the Area: Make sure the area around your car seat is free of obstacles. This gives you enough space to work and move around.
- Clean the Seat: Before starting, clean the seat surface to avoid getting dirt on the vehicle’s upholstery.
- Position Your Tools: Lay out all your tools within arm’s reach to avoid searching for items mid-process.
Once you’ve prepped accordingly, you can proceed to actually removing the car seat base.
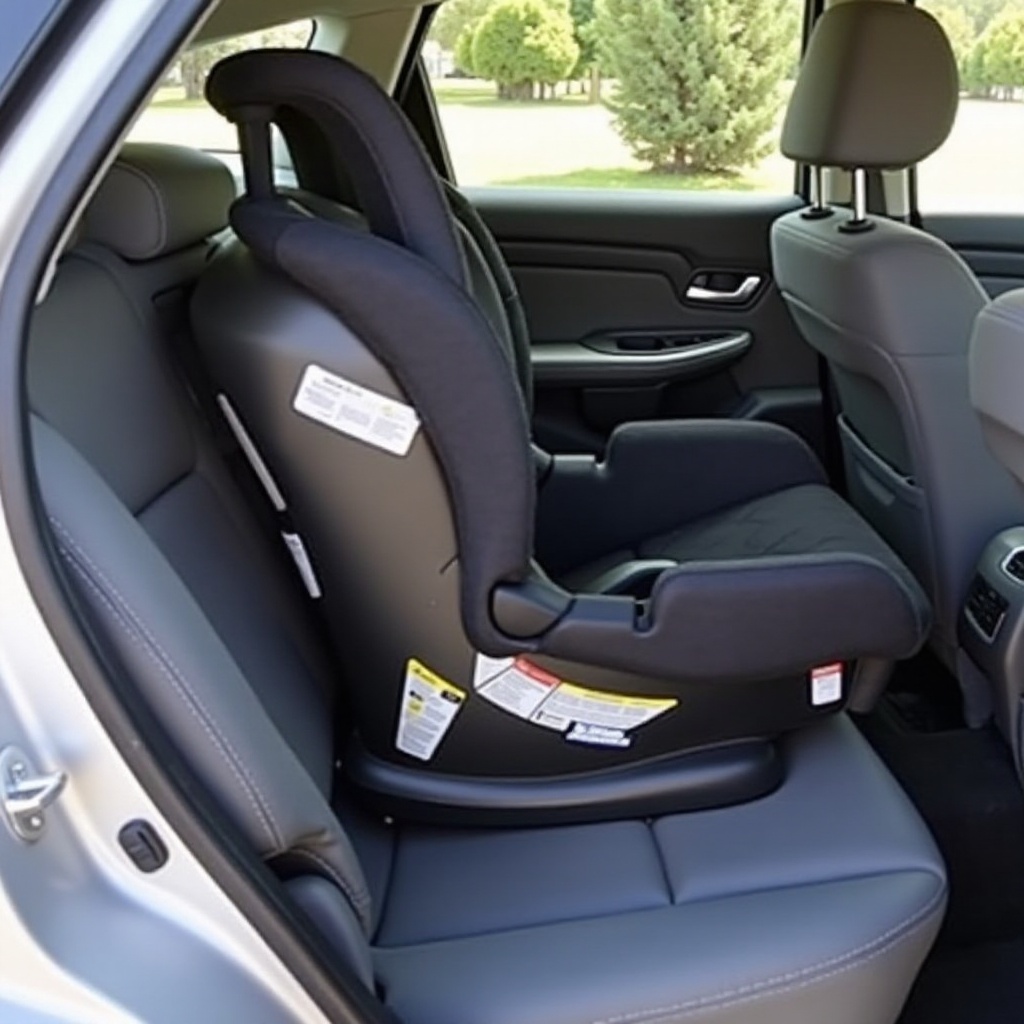
Step-by-Step Guide to Removing Car Seat Base
Initial Setup
- Park on a Level Surface: Ensure your vehicle is on a level surface to avoid the car moving unexpectedly.
- Unbuckle and Remove the Baby: Start by taking the baby out of the seat to work safely without distractions.
Disengaging the Car Seat from the Base
- Locate the Release Lever: Most car seats have a release lever at the back or the side of the seat.
- Press the Release Button: While pulling up or pushing down (depending on your seat model), press the release button to detach the seat from the base.
- Slide the Seat Off: Carefully lift the seat away from the base, making sure it’s free from all clips and connectors.
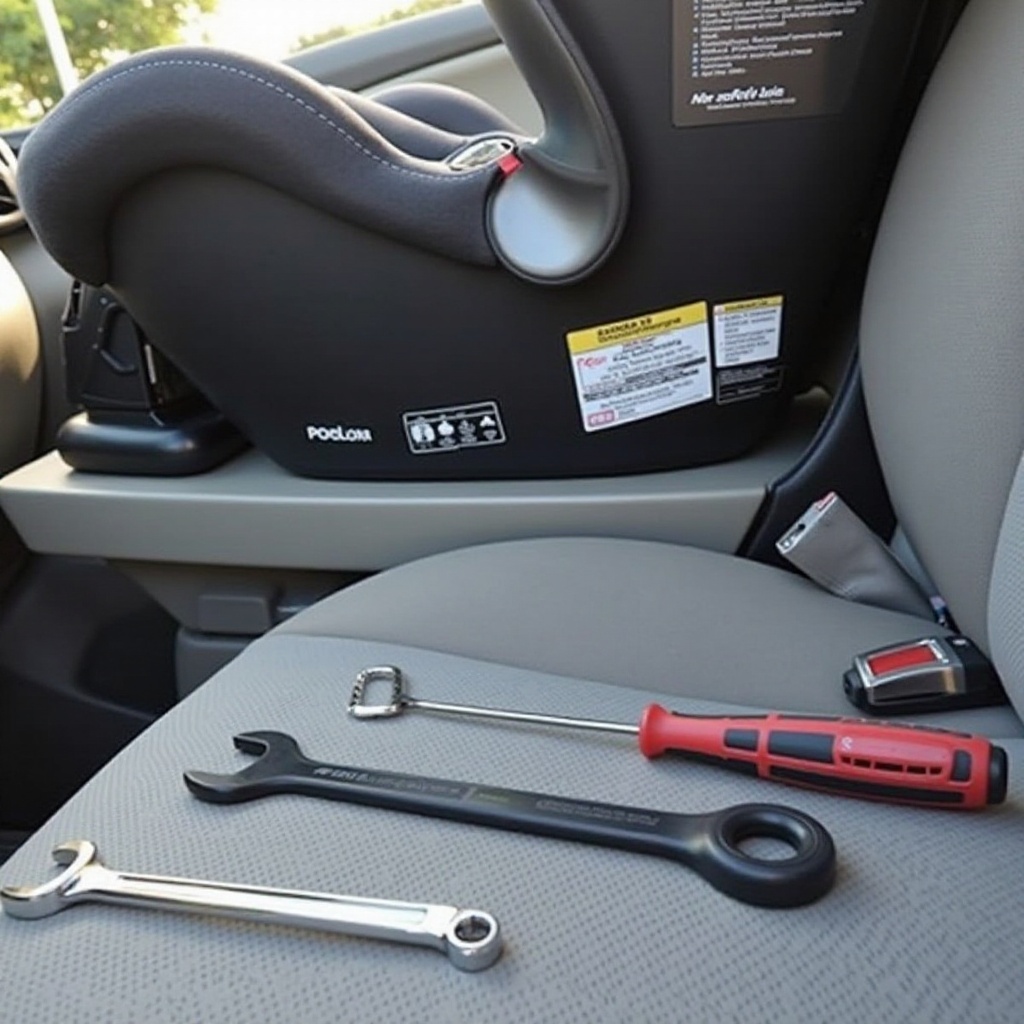
Removing the Base
- Unfasten the Seat Belts or LATCH System: If the base is secured with seat belts, unbuckle them. If it’s fastened with a LATCH system, press the connectors and release them.
- Loosen and Remove the Base: Depending on your car seat design, you may need to use a screwdriver to remove screws holding the base in place. Gently wiggle the base to ensure all points of attachment are disengaged.
- Remove the Base from the Vehicle: Once all connectors are released, carefully lift the base out of the car.
Post-Removal Checklist
- Inspect All Parts: Give a quick check to ensure that no parts are left behind and that nothing is damaged.
- Store Screws and Parts: Use Ziploc bags to keep screws and small parts together.
- Clean the Area: Vacuum and clean the area where the car seat base was installed.
Common Challenges and Troubleshooting
Removing the car seat base may come with its fair share of challenges. Here are a few tips for common issues:
- Stuck Base: If the base seems stuck, recheck the release levers and connectors. Use pliers if needed but avoid excessive force.
- Hard-to-Reach Screws: Sometimes screws are in tricky spots. A magnetic screwdriver can help retrieve screws if they fall into tight spaces.
Maintenance and Storage Tips
- Regular Cleaning: Make a habit of cleaning the car seat and base every few months.
- Storage: Store the car seat and base in a cool, dry place to prevent mold and mildew. Use a cloth cover to protect from dust.
Conclusion
Knowing how to safely and effectively remove the base of a car seat is essential for maintenance and cleanliness. With the right tools and preparation, the process can be straightforward and manageable. Always refer to your car seat’s manual for model-specific instructions and follow safety guidelines diligently.
Frequently Asked Questions
How often should I remove the base of the car seat to clean it?
It’s recommended to remove and clean the base every three months or immediately after spills or accidents.
What should I do if the car seat base is stuck?
If the base is stuck, double-check all release levers and connectors. Use pliers for added leverage but avoid excessive force to prevent damage.
Can I remove the car seat base without tools?
While some car seats can be removed without tools, having a screwdriver on hand is helpful for loosening and tightening screws. Always refer to your car seat manual for guidance.